Products Used:
Cardstock:Black, White and Basic Grey Out of Print 6"x6" Paper Pad
Stamps and Dies: My Favorite Things Die-namics- Pretty Pocket and Spellbinders Donna Salazar Rose Creations
Inks: Tim Holtz Distress Inks- Weathered Wood, Faded Jeans and Chipped Sapphire, Ranger Archival Black Ink
Misc.: Cuttlebug Embossing Folder Kassie's Brocade, Ranger Ink Blending Tool, Clearsnap Glue Gloss, 1/8" Scor-Tape and Craft and Glitz Irridescent Diamonds Glitter
So I used the embossing folder on the patterned paper and adhered it to the front of the card. Then I cut out the pocket from the front of the card and used my ink blending tool with all 3 Distress Inks over the embossing. I used my scor-tape on 3 sides of the pocket I made in my tutorial and lined it up on the inside of the card so when it's closed you will see the pocket. I also stamped friend and hello on the tabs I die cut and then used my distress inks on them. These are placed one on the outside and one on the inside. Here's what the inside looks like:
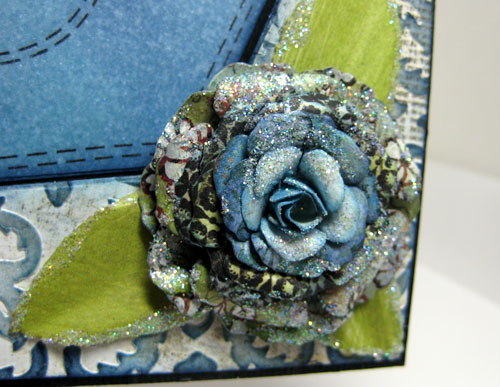
You can use the pocket on the inside for a gift card. Then I made a rose from some of the patterned papers and the rose creations die and I also cut out some leaves. I used the glue gloss on the rose and the leaves, then I sprinkled some of the glitter on them. Then I adhered it to the front of the card. Here's a close-up of the rose, you can actually see the glitter :)..............
So that's it for how I made this card...............so until next time........................Have a great week!!!


2 comments:
Great card, Kim, and the tutorial was very inspiring.
A stunning card!
Post a Comment